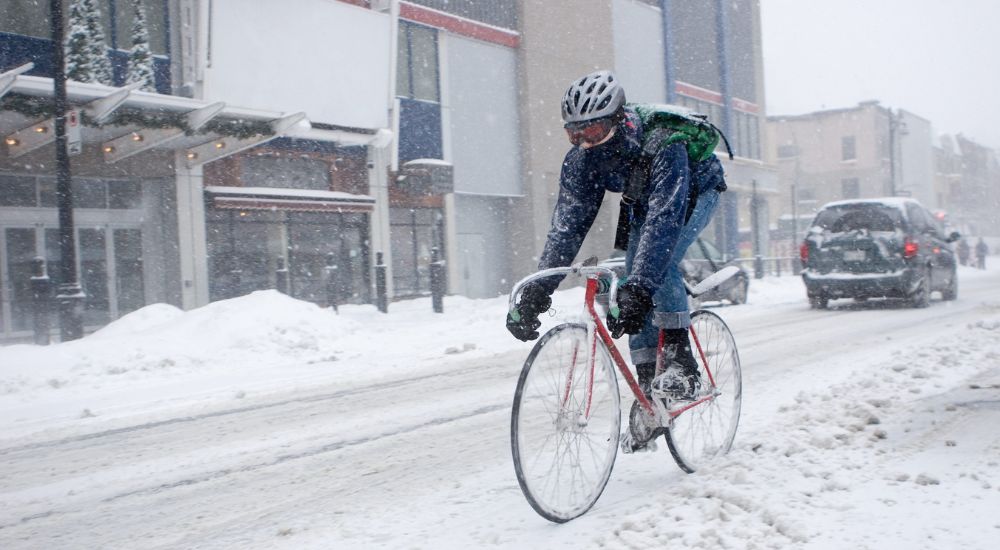
Cycling is a way of life, and low temperatures and winter storms push the wind chill factor to subzero, making many cyclists go into hibernation. However, with the right preparation and mindset, bike riding doesn’t have to stop in freezing conditions. There’s no reason not to enjoy cycling when you wear the right apparel. Even in freezing winter conditions, winter riding can be highly rewarding.
Want to keep riding your bike in the winter? Today we’re sharing how to make the most of winter riding and how to stay warm while you’re doing so!
You can absolutely convert from commuting by car to commuting by bike. You could steer clear of snarled traffic, crank your heart rate, and burn several calories. You’ll also arrive at work fully energized, with the satisfaction of having already accomplished something before your workday has even begun.
Another plus is those bike paths and trails thronged in summer are transformed, becoming blissfully crowd-free in the wintertime.
Tips that winter cycling is not an all-or-nothing proposition. Start slowly to help build confidence, hone skills and shake down your gear. Overextending too soon can lead to disappointment, whereas short, fun rides can fuel enthusiasm to keep going. If you have a long commute to work, the following strategies can help:
Take public transportation part of the way. Many buses and trains have bike racks or storage areas.
Drive part of the way. Parking and riding your bike the rest of the way shortens the ride and lets you avoid hazardous commute segments.
Alternate riding days. Bike the full commute every other day or every third day.
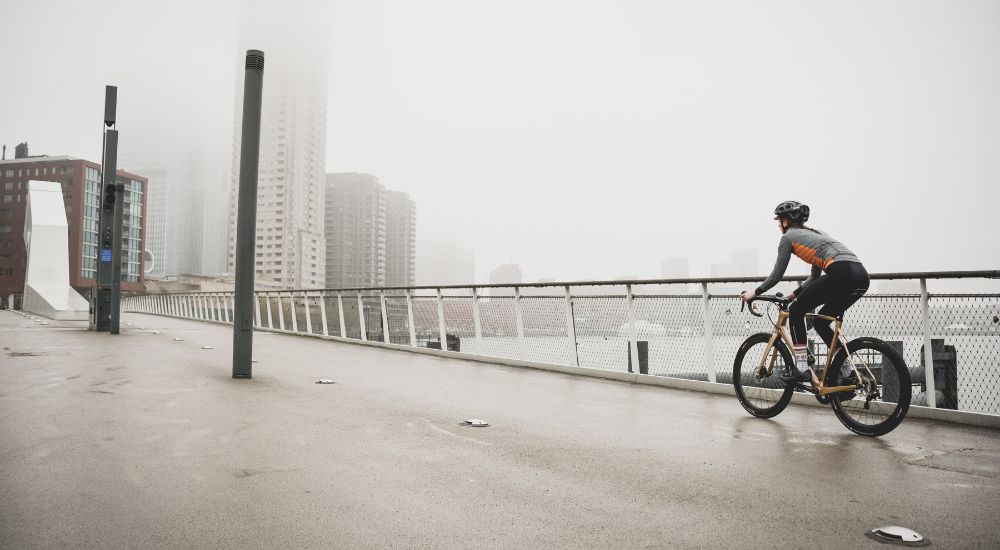
When cycling in winter, you’ll want to ensure you’re warm, dry, and visible to drivers and pedestrians. Choosing the proper cycle clothing will ensure you’re safe and protected while riding, instead of feeling like you’re fighting against the weather. Wearing the right clothes can make riding in (almost) all weathers a pleasure.
We’ll break the winter into three sections and tell you what apparel and gear you’ll need for each section.
- Early Spring and Fall: The weather is a little chilly, around 50 to 60 degrees Fahrenheit and rainy, but it’s nothing too serious. You will only need a few articles of clothing to keep riding.
- Mid-Fall and Early Winter: The temperature is between 39 and 50 degrees, and the weather is getting more serious now. You must strategically plan how to train, routes, clothing, bike choices, and equipment. You will also have to deal with inclement weather, such as snow and freezing rain.
- Deep Winter: The temperature is 39 degrees to freezing. Riding in the deep winter is for the dedicated and hardened, true cyclists. This section is for the cyclist who refuses to ride on the trainer and will deal with deep snow, ice, and bitter conditions.
Early Spring and Fall
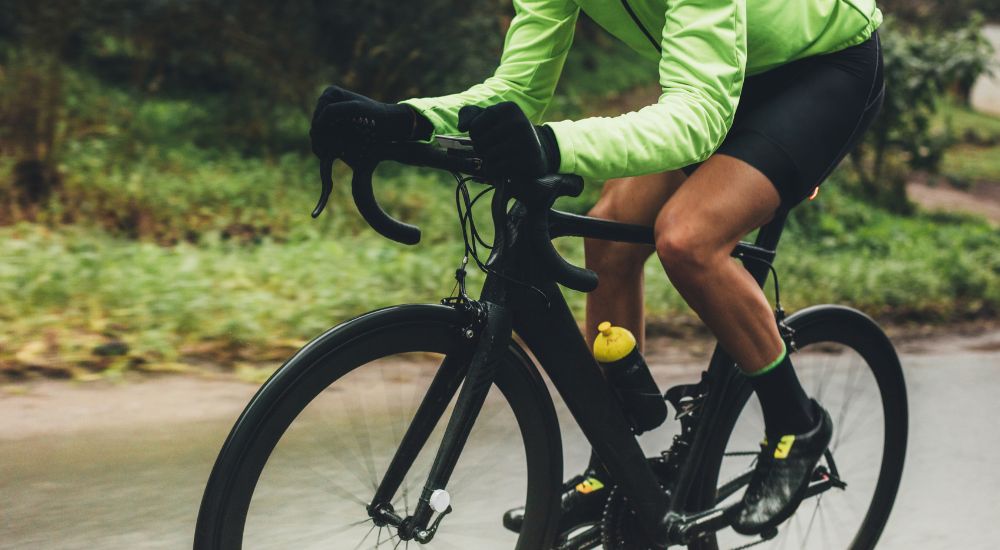
Early spring and fall are some of the best times for riding. It’s not too cold and not too hot. At this time, it’s sufficient to use the summer setup, so there is usually no need to change bikes.
For apparel, you could wear your summer kit with warmers and a gilet, and you could also sometimes wear a cycling cap to keep the cold winds off your head. The caps have brim to help keep the rain out of your eyes.
You want to dress ten degrees warmer when you’re cycling than you would if walking around because you will generate a lot of heat. When it’s above 60 degrees, carrying a cycling gilet or a wind vest for your descent would be a good choice. Wind vests are convenient because they roll up and fit into your pack pocket. But wind vests generally have no insulation, so they just have a windproof and/or waterproof layer to keep your core warm when you descend a mountain at 30 miles per hour or cruising on the bike trail on a windy day.
Suggest wearing high-visibility (high-vis) colors. Cyclists are harder to see in the colder, gloomier months, and many motorists are not looking for cyclists on the roads because they think of cycling as a summer sport. High-vis gilets are designed to be seen more than a mile away, and there’s a reason road construction workers wear high-vis clothing.
When it’s in the 50-60degree range, carry arm warmers, leg/knee warmers, and light gloves. You can put them on when it is cold and take them off when it gets warm. This is perfect for situations when you are riding in the morning, and it is 50 degrees for the first hour, and then it goes up to 60 degrees by midday — with these, you are not stuck being overdressed or underdressed!
For cool, rainy days in the early fall could wear booties. They slip over your shoes to keep your feet from getting wet and provide warmth. They can also keep your summer shoes clean in a downpour.
Mid-Fall and Early Winter
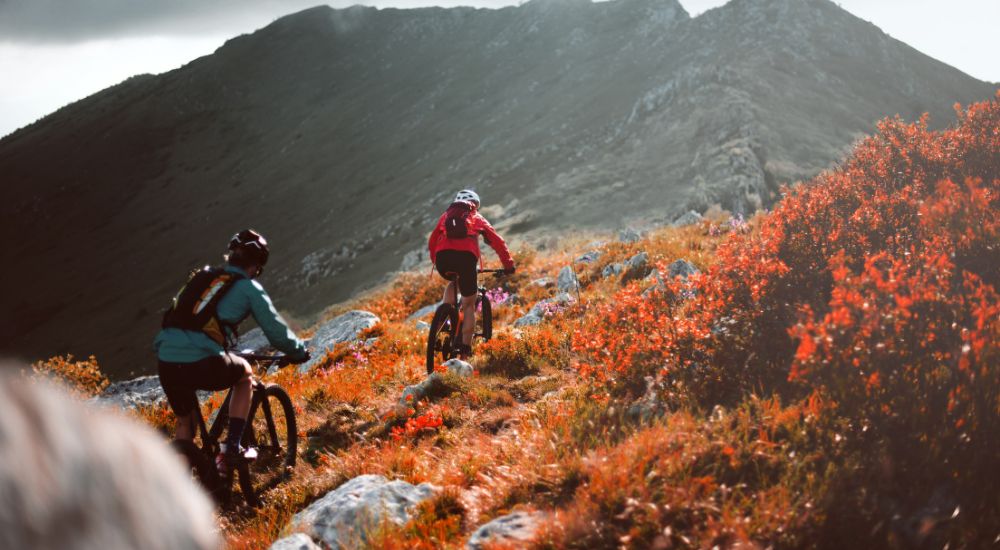
By this time of year, you’ll generally have less light, decreased visibility, and fewer hours of sun, so it’s best to plan your routes to be within 20 (or fewer) miles from home. Also, having pit stops at coffee shops is very nice.
When it is cold outside, riding in a group is very helpful. You have to be mentally tough to slug out a 60-mile ride in the cold alone, so it is much easier and faster to freeze with others.
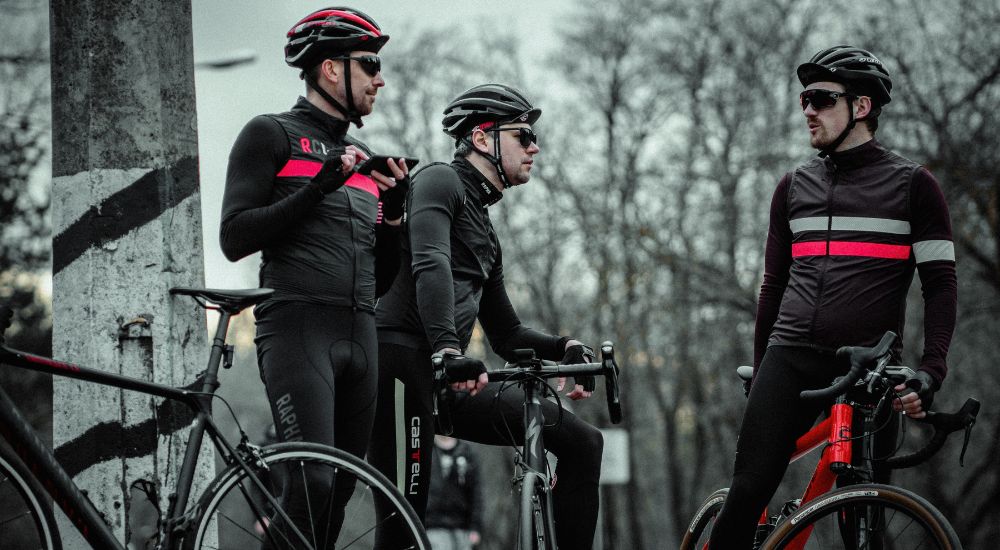
In the mid-fall and early winter, you’ll want to either make changes to your road bike or use a winter bike. If you want to keep riding your summer bike during this time, lighting and tires are the most important considerations. Add fenders to shield against tire-sprayed snow, water and muck, fit an insulated water bottle into your bottle cage and fill that bottle with a warm beverage (even warm water) to help take the chill off.
In winter, your riding base is mileage, and your focus is not on speed but on flat protection and longevity. What’s needed is a better grip in wet conditions.
Endurance tires last longer because the rubber is harder; you can easily get 5,000 miles or more out of these tires without changing them. Since the rear tire wears faster than the front tire, so you could buy a super endurance, long-lasting tire for the rear and a less aggressive endurance tire.
In addition, you can try tubeless road tires. With this setup, you can run much lower tire pressures for more traction in snow and gravel. Tubeless technology is becoming more accepted in the road-cycling scene since it has lower rolling resistance than a clincher or tubular tire.
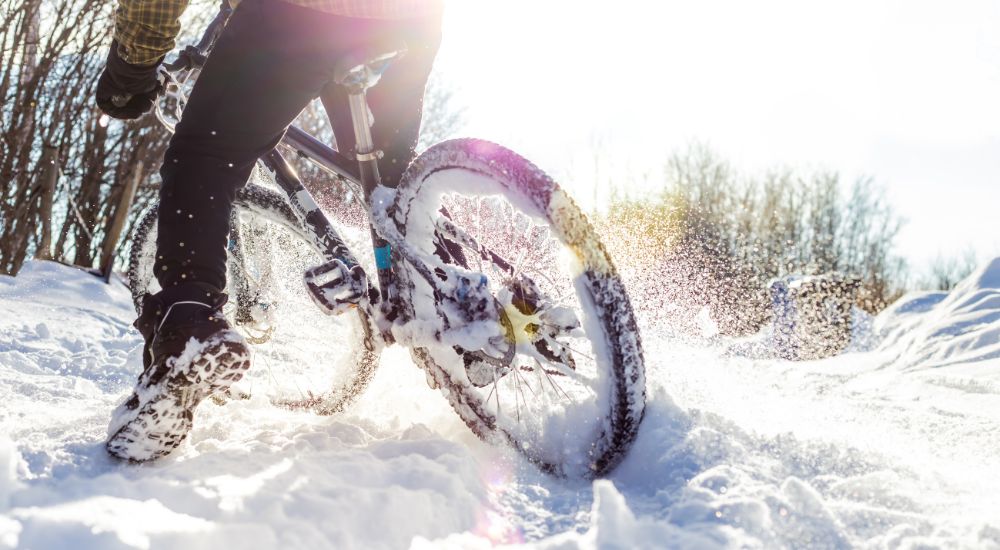
Now that we’ve sorted out the tires let’s move on to your bike’s mudguard. If it’s raining or snowing, this handy device will protect you (and your clothes) from water and mud spraying up your back as you ride. A mudguard doesn’t only protect you. It also protects other cyclists riding behind you.
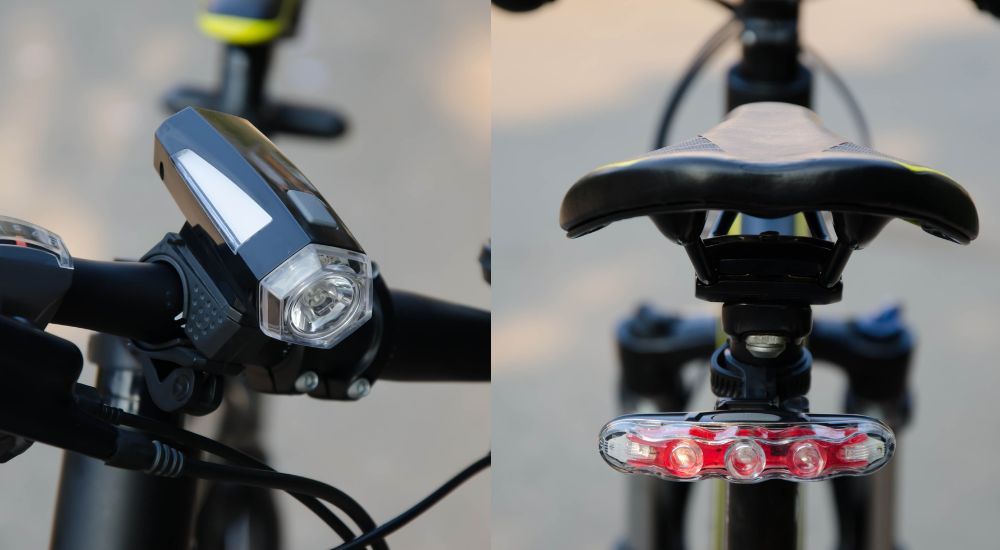
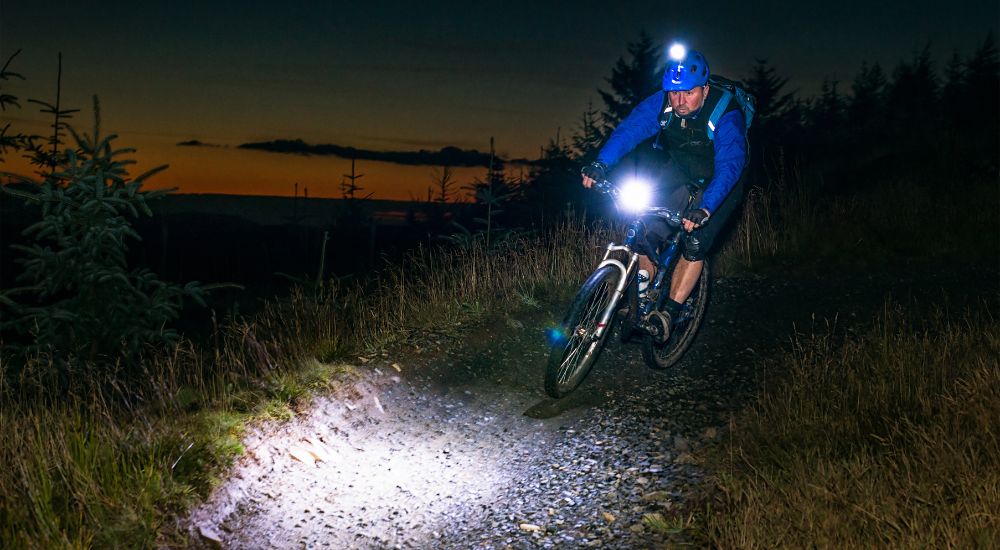
Daylight is fleeting in the winter, so if you are commuting, you might have to travel in low-light situations, so you should get good quality lights. Front lights are divided into visibility for others and your ability to see.
Get the brightest lighting you can afford, especially in front. Two light sources in front and two in the rear provide backup should a light fail; they also provide multiple visibility points.
Front lights: Your brightest one goes on the handlebar, the other light goes on your arm or helmet, so you can direct it independently from the handlebar-mounted light.
Rear lights: Place your brightest flashing safety light on the back of your bike and the other one on your helmet, pack or clothing. Deploying the lights that way will make it so that the motion of the two lights differs slightly, which can more effectively attract a driver’s attention.
How bright is bright enough? You’ll want to ensure your bike is equipped with white front light and red rear light. Your front light needs to be visible from a distance of at least 500 feet, while the rear light needs to be visible from at least 300 feet. The secondary lights, front and rear, don’t have to be quite as bright.
When it is below 50 degrees, you could wear bib tights or thermal bib shorts. Also, there are bib knickers, three-quarter length bibs that can be worn up to the calf. These are great for mid-fall and can be a cheaper alternative to the thermal bib short. The only problem is that the third of your calf that isn’t covered is going to be cold.
Except for having cold hands, there is nothing worse than having cold feet. It’s good to wear merino wool socks in the fall and winter seasons. Merino wool socks are thick and wick away sweat so your feet can stay dry.
Then pair them with a neoprene thick overshoe or bootie, because they keep your feet from getting wet and give you extra warmth. Given that the human eye sees movement first, so we suggest using high-vis booties. Some booties have built-in lights on the heel for added visibility.
Keeping your core warm is one of the hardest but most important parts of cycling. If you wear too much clothing, you are burning up and then cold on the descent. If you wear too little, then you are freezing to death. The secret is to layer with full-zip jerseys and jackets, so you can take them off or unzip them on hard efforts, then zip them back up during easy efforts or descents.
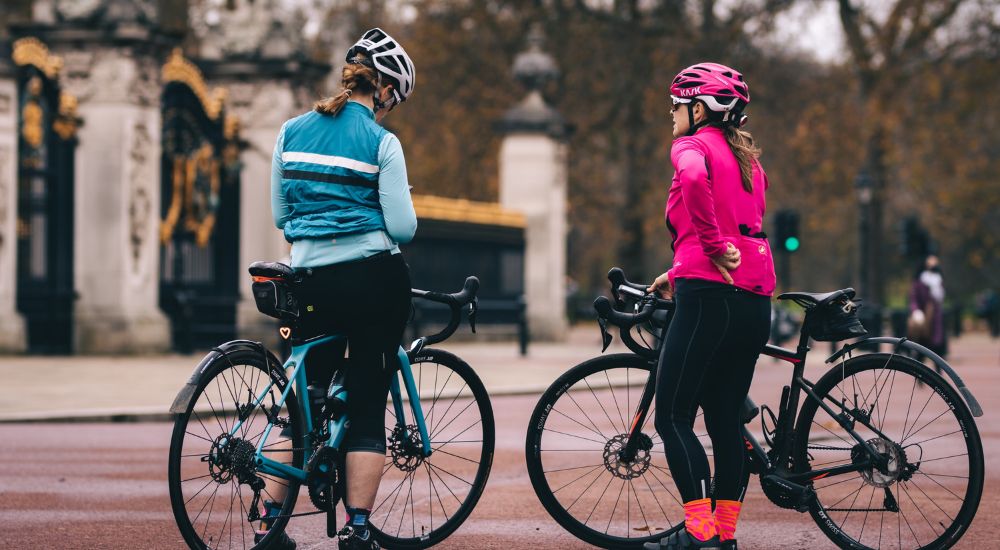
In the mid-fall and early winter, you could wear a base layer. Base layers are worn next to the skin and go under your bib straps, and they wick away sweat from your skin and keep you warm. The mesh material keeps you warm and dry, even when you stop.
On top of the base layer, wear a thermal fleece jersey. The jersey has a full-length zipper, but it’s generally not windproof. So that you can layer them under a coat. If you know that the temperature will warm up during your ride, you can wear the thermal jersey with a gilet for wind protection, then take the gilet off later in the ride.
If the temperature is in the 40s and you know that you won’t be taking anything off, you could wear a soft-shell jacket. These are nice jackets that have windproofing, and they can keep you warm until the temperatures hit the 30s, generally, they can keep the rain off a little bit if you are caught in a storm on your commute home, but they are not completely waterproof.
These jackets generally have no insulation, but many have a hydrophobic layer that keeps the rain off. A full-length rain jacket is a good investment if you live in a rainy area like the Pacific Northwest.
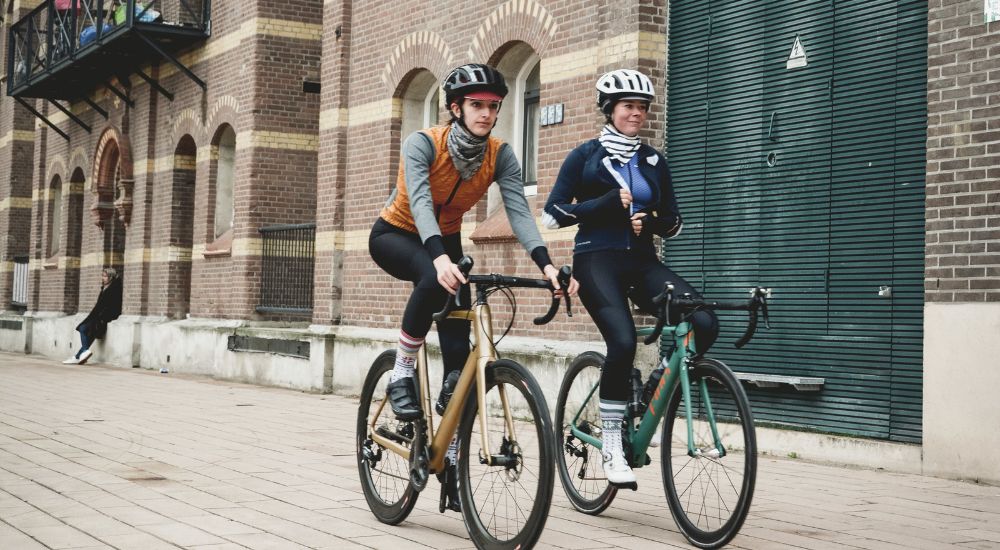
With proper layering, you can feel confident knowing you won’t freeze no matter how cold it is outside. Although some people have a greater tolerance for cold weather than others, we’ve found the following advice suits most cyclists:
When temperatures dip into the 60s, it’s probably time to grab a long-sleeve jersey. A mesh base layer or lightweight gilet can be a good addition if it’s windy or you get cold easily. Bare legs are usually still okay at this temperature.
In the 50-degree range, consider throwing on some leg warmers, a lightweight jacket, and some light gloves. Some people might also be most comfortable wearing an insulated gilet, headband, and overshoes.
When the mercury drops below 45, it’s time to grab an insulated jacket, some shoe covers, and thermal bibs. It might also be time to pull out thicker gloves and a cap from storage.
Below freezing temperatures call for the big guns. You’ll want to cover any exposed skin in this situation. Pair insulated bib tights and a good Merino wool base layer with a properly insulated jacket. Add on heavy gloves and shoe covers to complete your kit.
Cold hands are the hardest body part to heat when riding a bike. Hands also the things that control your bike, so if you lose control of your hands, you can fall.
So you can absolutely carry two, maybe even three, pairs of gloves. You can wear a thin liner by itself if it warms up or on climbs, and put a larger fleece glove and thicker windproof glove over the top if it gets cold or on descents, but if these don’t work for you at all, the only solution is to use heated cycling gloves. The gloves have a battery and heating element inside. The heating element was just enough to keep the wind off my fingers and allow them to thaw, and it was good enough for a three- to five-hour ride.
Depending on the length of the ride, you will need to consider putting on something to keep your head and face warm. Beards are amazing, and they act like a scarf around your face. They are waterproof, windproof, and FREE.
If you can’t grow a big, burly beard, can be using a face mask. When making an effort, you can pull down the mask to breathe more easily and then pull it up when descending.
Also, the either an aerodynamic helmet or a helmet cover is good, they generally have fewer vents, or they allow you to close the vents for warmth and speed. If you don’t want to buy another helmet, you can get a helmet cover, its like a shower cap that goes around the helmet. Well it can be useful if you live where it rains a lot.
Deep Winter
Generally, it’s best to keep your rides under two hours in the deep winter, or you will start to freeze.
The key to deep winter dressing is to layer, so that you can control your body temperature. For example, you may want to wear a merino wool base layer, a thermal jersey, and a thermal jacket. Instead of a soft-shell jacket, you will want to wear a heavy-duty thermal jacket. These jackets offer more insulation and are windproof and waterproof. They are also designed to allow your body to cool off during hard efforts.
Gloves, use heated gloves, also could add a liner and sometimes a lightweight glove for added warmth.
For the head, use a thermal fleece ski mask to protect the face from the cold.
Don’t forget your neck. The neck connects your head to your circulation source, so keep it warm to allow continuous blood flow to your head, leaving no skin exposed to the frozen air.
For the bottom, use the thickest thermal bib tights you can find, the ones that loop around your feet to cover the gap between your shoes and pants. Also could use ski pants as an outer layer — the only problem with them is that the right leg will get caught inside of the drivetrain, so you have to be careful about that.
For shoes, you wear either winter cycling shoes or winter cycling boots with booties on. If you riding on snow, don’t ride with clipless pedals(but it is an option), use mountain bike pedals instead. If you riding on roads that have been scraped by the snowplow, can be used winter cycling shoes.
Tip: Buy larger-sized shoes so you can layer up your socks. Use merino wool socks as a base layer and thermal socks as an outside layer, which generally don’t have a problem with cold feet, but if you do, we suggest heated shoe covers. Just like for shoes, an electric heating element is inside the bootie to heat your feet.
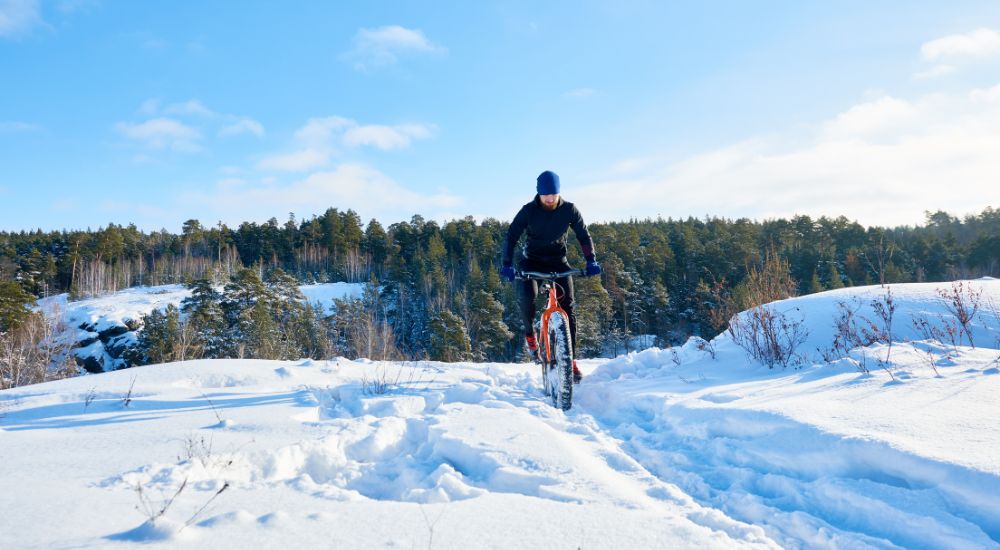
If its snowing outside and you riding on clean roads, you could use a gravel bike; however, if you want to ride in deep snow, we suggest using a fat tire mountain bike. (With a fat tire mountain bike, you have a massive tire for grip that’s around four- to five inches wide for extra traction. You can ride with five to 20 pound-force per square inch (psi) in the tires to get more grip in the deep snow.)
Also, you can get spiked tires for your winter or fat tire bike. Spiked tires are just like the ones you use for your car, they have small spikes to break through the ice and provide grip.
Next We’ll Break Down Some Winter Cycling Techniques To Make Life On The Bike Easier This Winter.
TECHNIQUE IS EVERYTHING
Ride slowly, and keep your distance. Okay, let’s start with the obvious, if you think the roads or bike paths could be slippery, slow your roll. You’ll be able to react to obstacles more quickly. In addition, we’d recommend keeping a greater distance between you and other cyclists and pedestrians, so if you or someone else loses control, you’ll have enough time to get out of the way safely.
Keep braking and steering to a minimum. Avoid extreme steering movements and reduce steering to a bare minimum when the ground is icy or covered in snow. It could be the difference between smooth sailing and a painful wipeout.
The same applies to braking, if the street is slippery due to wet leaves or patches of ice, avoid heavy or abrupt braking. Consider coasting to a stop, if you can, rather than jamming on the brakes.
Adjust your saddle height. The German Cycling Association recommends while riding in the winter, might want to lower your bicycle seat. That way, touching the ground with your feet will be easier if you need to.
However, don’t forget to readjust the seat to its original position once the weather clears—otherwise, you might damage your knees.
Adjust tire pressure. Inflate tires to the low end of their pressure range. All tires list a range of acceptable pressures (usually on their sidewalls). Riding on tires pumped up to the low ends of their range puts more tire surfaces in contact with the road, improving traction. A “softer” tire also absorbs bumps, which helps you maintain control if you hit a pothole or rough patch.
The proper breathing technique for cycling. Sports physicians and health experts recommend that, when cycling in extreme cold, should breathe in through the nose and out through your mouth. (same as when out on the run) This way, the air breathe in has to travel a longer distance to reach your lungs, giving it additional time to warm up.
Don’t forget to hydrate. You still need to hydrate when it’s freezing, so have a plan.
Here are a few basic rules for hydrating in cold weather:
- Know your normal hydration rate (for most people, this is around 12-16 ounces of fluids per hour — the equivalent of one cycling water bottle)
- Increase your fluid intake during sweaty, high-intensity rides
- Decrease or maintain your fluid intake during low-intensity, non-sweaty rides
Cold Weather Riding Some Safety Tips
Cold weather riding can be enjoyable, but keep the rules of nature in mind. Getting stuck in the cold can really suck (and be dangerous), so we’re going to leave these foundational winter riding reminders right here:
- Map your route in advance.
- It gets darker sooner — wears reflective gear.
- Place headlights and taillights on your bike.
- Inspect your bike before your ride.
- Ride with someone or tell a friend where you’re going.
- Bring a repair kit and matches.
- Fill your insulated water bottle.
- Keep your cell phone in a warm place. Cold temperatures can drain batteries more rapidly.
Before tackling the frozen tundra, don’t underestimate the mental side the things. It can be difficult to get motivated for a ride sometimes, especially when it’s cold and dreary outside. But if you prepare for the ride, dress appropriately, and remember that your skin is also waterproof, there’s no reason not to be bold, brave and confident in embracing the fun, excitement and challenges that come with outdoor adventures in the colder months.
Winter Cold Weather Riding Prevention
Strategic riding to prevent falls
While the far right of the road might seem like a place to stay out of harm’s way, the immediate curb area is where plowed snow, muck and broken glass accumulate. Also, the farther right you are, the harder it is for drivers to spot you in the dark.
Take up the lane: Riding in the middle of the right-hand lane makes you more visible and deters drivers from trying to squeeze by as they pass. (Instead, they’re apt to move a full lane to the left.) You’ll also be keeping your bike farther away from roadside debris. Note: If the road has a bike lane that’s full of snow or other hazards, then ride in the right-hand car lane instead.
Ride relaxed: Locked knees and elbows make it harder to react smoothly. Instead, stay loose and use your legs to absorb any motion created when running over snowy ridges or other road rubble. Be alert and ready to steer around ice, slick leaf-covered surfaces or tire-piercing debris.
Clean your bike to prevent rust
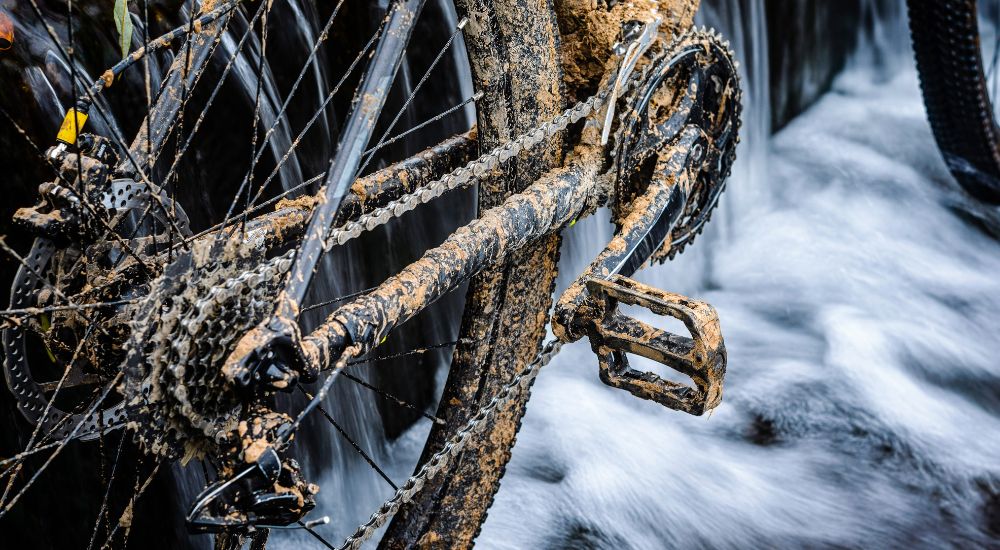
Your bike will probably get a lot dirtier in the winter, even if you’re riding the exact same routes as in the summer. Even with fenders, snow and grit and grime can build up on the bike, especially around the moving parts like the drivetrain. If you don’t clean this off properly, then it’ll cause your components to wear out a lot quicker and may lead to a bike’s worst ailment…rust!
Try to do a more thorough clean and lube every few weeks. Best to apply wet lube(one made for wet/dirty climates) before and wipe your drivetrain down after every ride. This will stop the corrosion of your cassette and chain, and it will save you money in the long run.
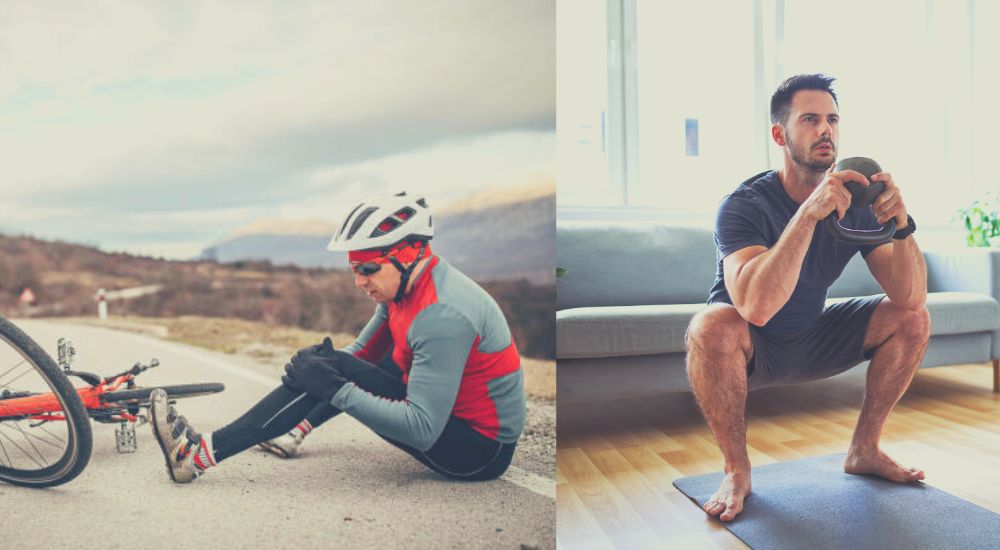
Warm up to prevent injuries
Joint pain can still arise when your bike fit is perfectly suited to your body type. Like with all winter activities, when it cools down, you are more susceptible to joint and soft tissue injuries. That’s why it’s imperative you warm up your muscles and joints before a ride. Here is an item of dynamic stretches we recommend before getting on your bike.
- Forward & backward lunges
- Air squats
- Walking knee to chest
- Upper-body twist
- Forward & backward arm circles
Lunges and squats will help warm up the joints in your knees and the muscle surrounding the most important part of your body. Keeping these joints and muscles warm will also keep your knees functioning properly throughout your ride.
Here are a few more things I wish I had known about sooner.
Neck gaiters or convertible beanie hats. These are both basically tubes of insulating fabric that are very versatile. They can be worn around your neck, pulled over your face, or adjusted around your head to provide different levels of temperature control.
Unless it is a rain jacket, be sure your outer layer has pockets. Nothing is worse than having to find your way under a pocketless outer jacket or vest to pull a bar out of your jersey, all while wearing thick gloves. Make sure your food is easily accessible. Hey look: a jacket with pockets!

